
How to Setup Epson XP-7100 Bluetooth Printer on Device?
March 21, 2025

Wants to Know 'How to setup Epson printer'? For beginners, setting up a new printer can be a daunting task. Whether you have just unboxed your Epson XP-7100 printer or are setting it up for the first time, a clear guide can simplify the process. This post will explain the setup procedure that provides step-by-step instructions for both Windows and Mac users.
From the moment you open the lid off the box to connecting the printer to your home network, we have got you covered in this blog. You will not only be printing high-quality documents and photos in no time but also feel confident in setting up your own printer anytime.
Step 1: Unbox Your Epson XP-7100 Printer
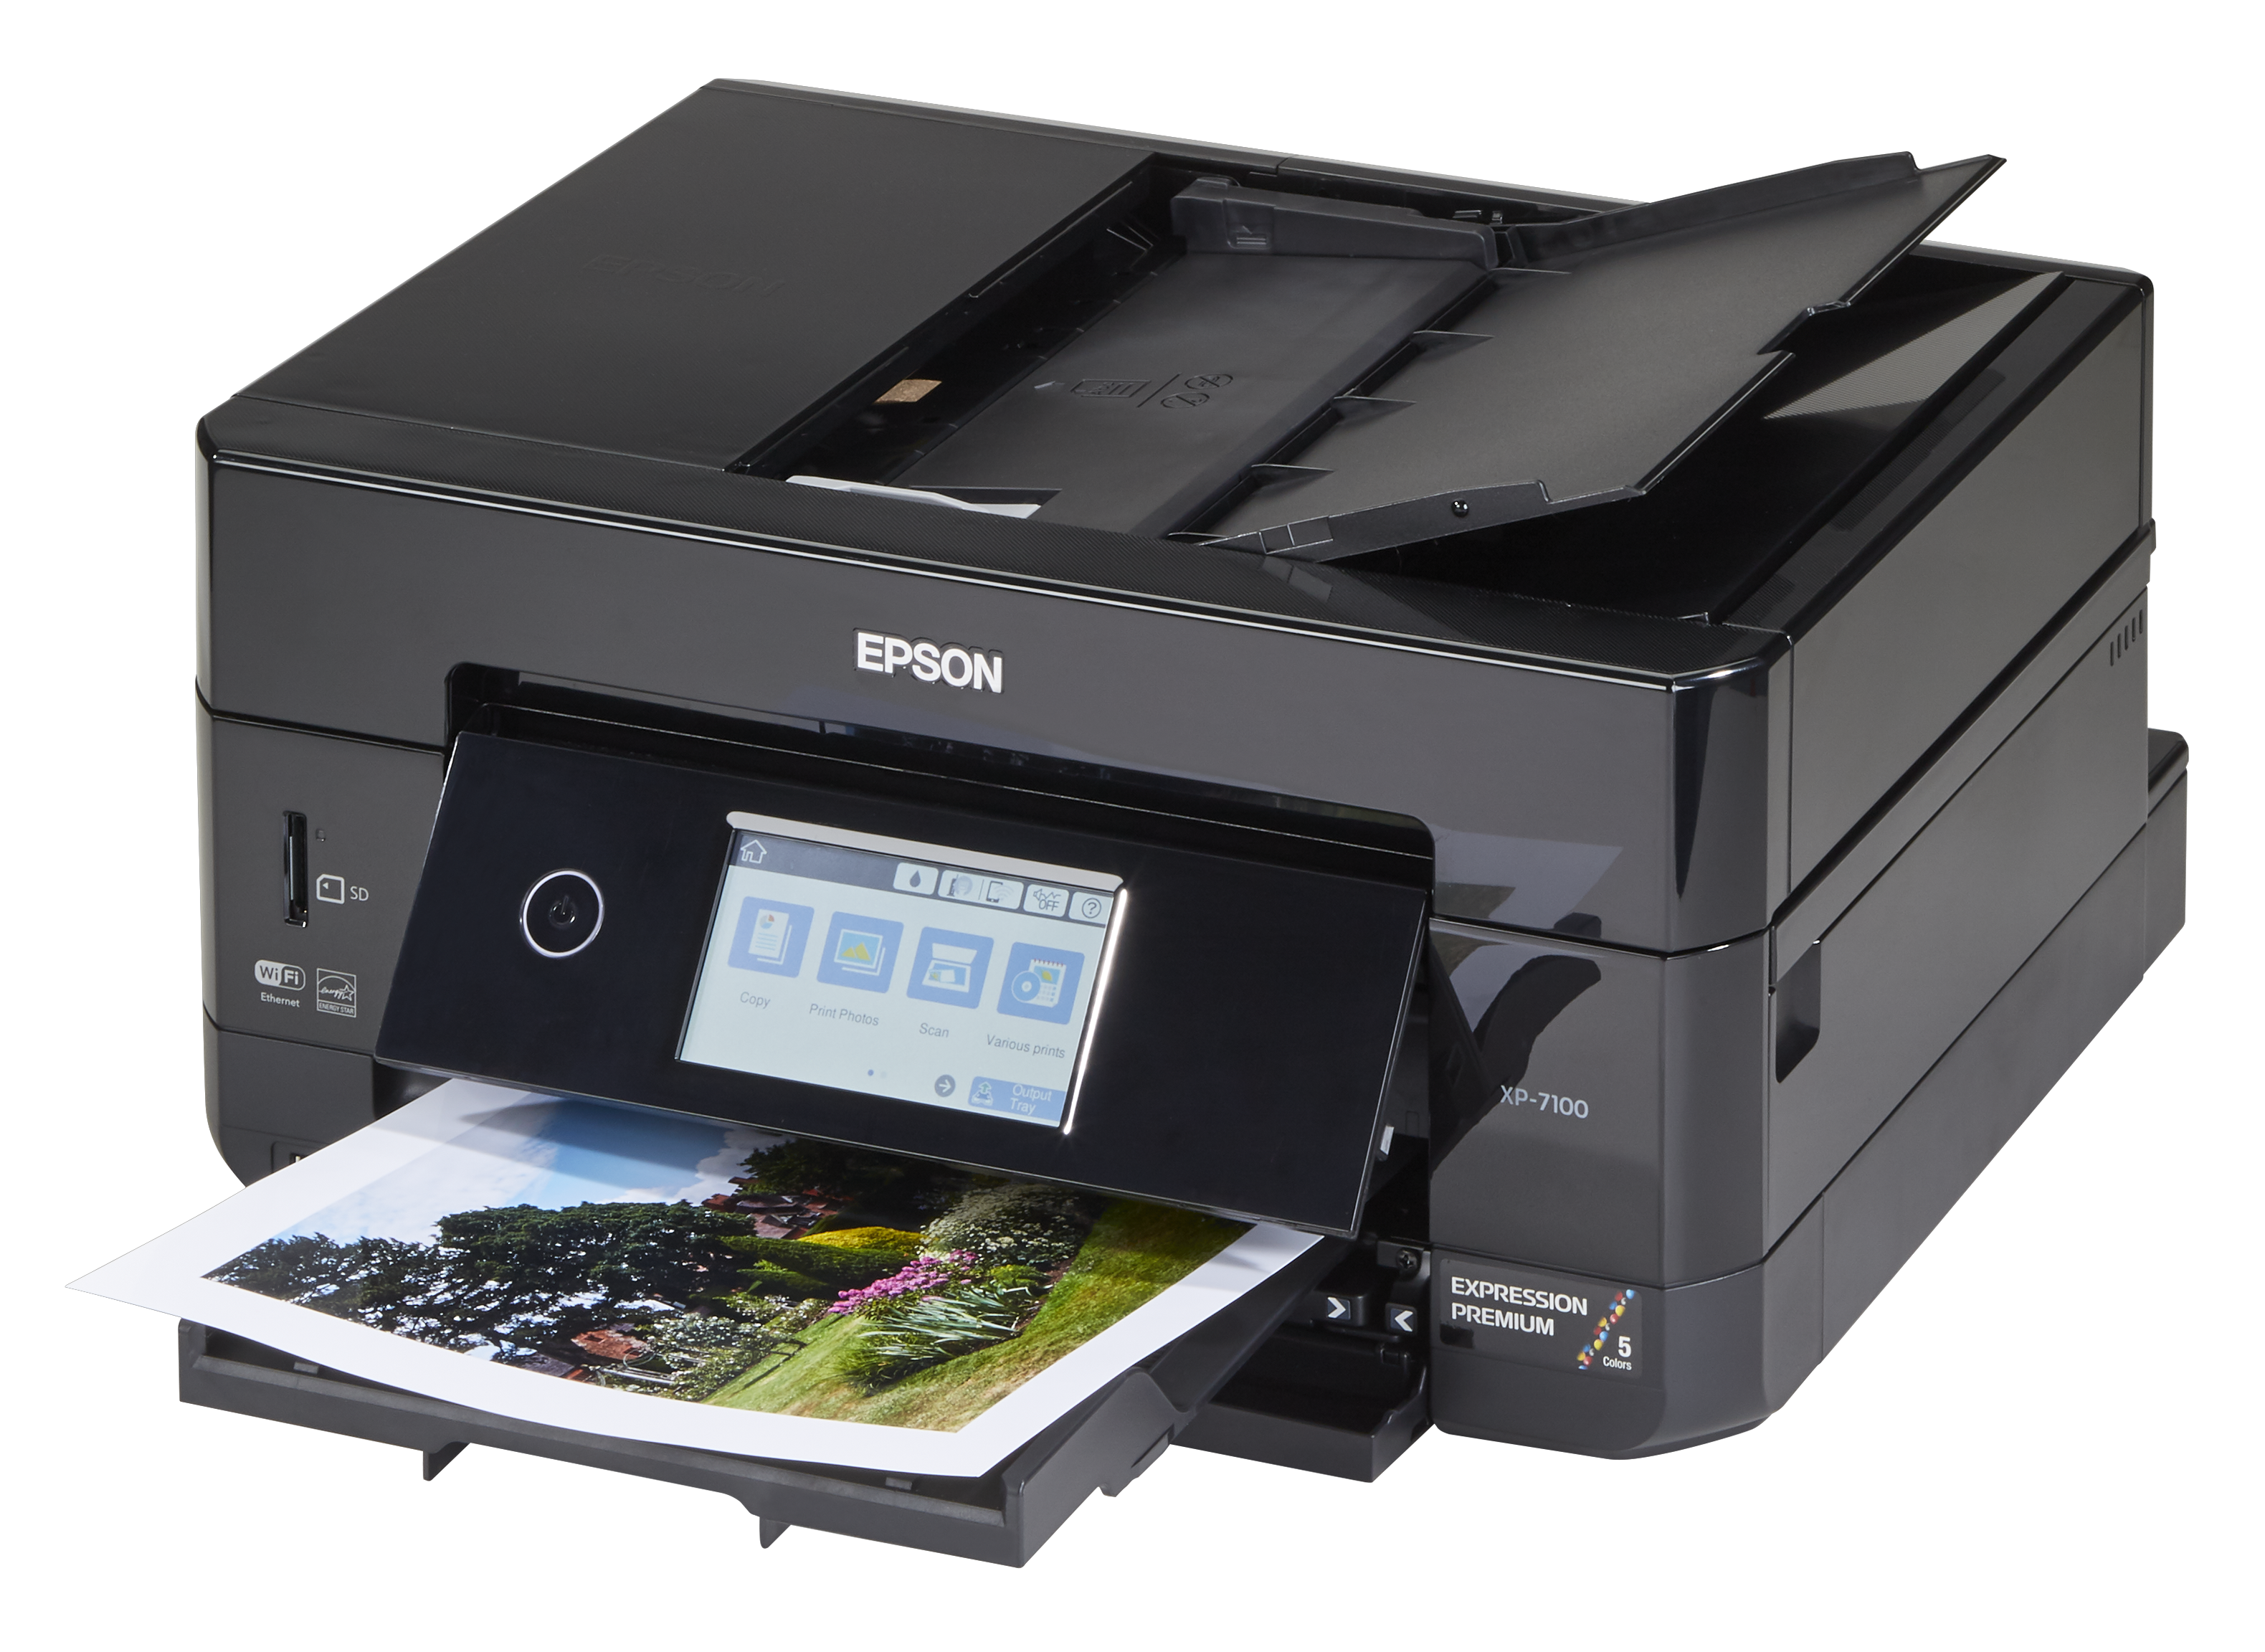
Before you learn how to setup Epson printer, start by unboxing it. When you receive your printer, open the box carefully and take out the contents. Here is what you should find inside:
- Epson XP-7100 printer
- Power cord
- Ink cartridges
- User manual
- USB cable (if included)
After you remove all items from the box, place the printer on a flat table near a power outlet. It is advisable to keep the area clutter-free to allow for proper airflow around the printer.
Step 2: Setup Epson XP-7100 Printer on Windows/Mac
Below are the detailed steps on how to setup Epson printer to Mac and Windows. To learn how to setup Epson printer, follow the steps explained below:
For Windows
Step 1: Connect Epson Printer to PC
- Turn on the computer.
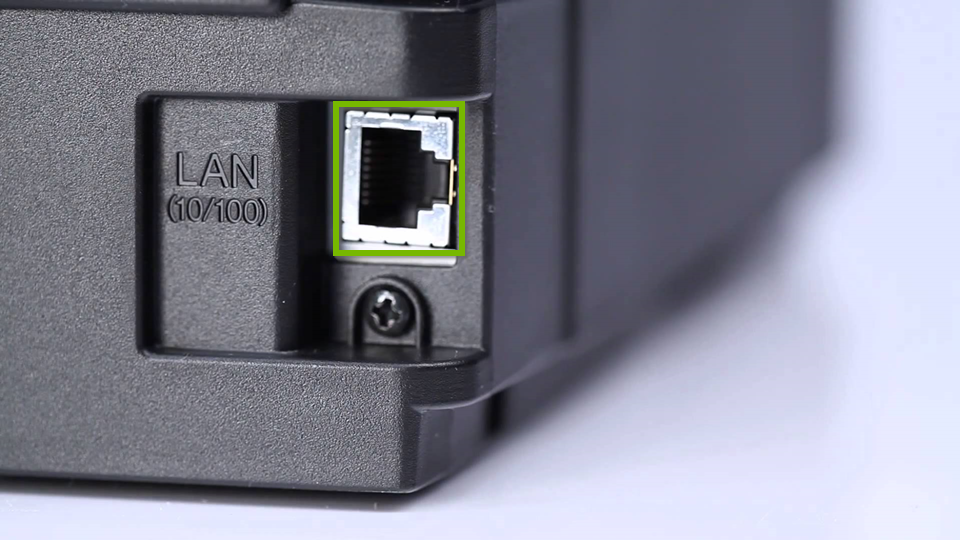
- Then, connect the Ethernet cable to one end of your printer’s port.
- Next, return to the PC and go to Settings by navigating to the Windows Start button.

- After that, go to the Printers and Scanners option in the computer settings.
- Finally, add the printer to your computer by selecting it from the list of available devices.
Step 2: Install Epson Printer to PC
- Turn on the printer.
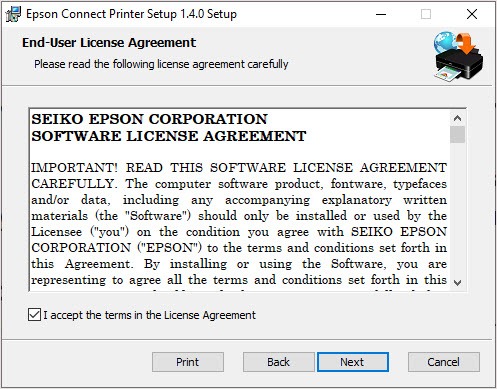
- Then, visit Epson's official website and download the Epson Connect Printer Setup Utility software.
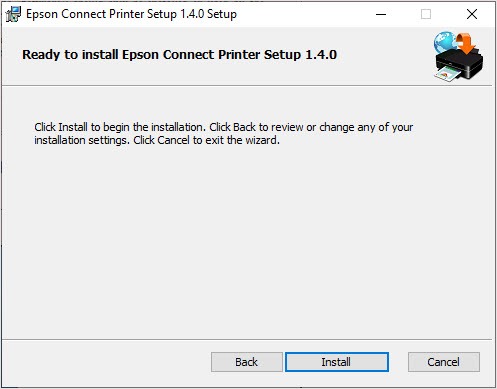
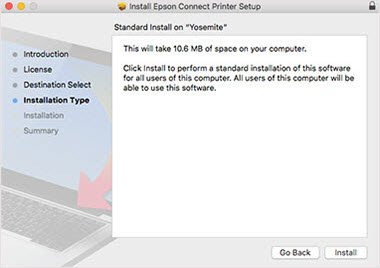
- Once done, go through the terms and conditions and tap on the Next button.
- Next, click on the Install button.
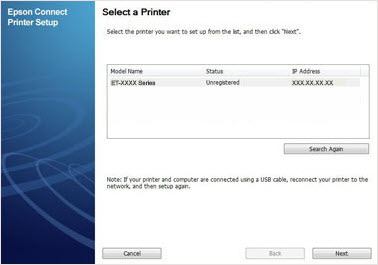
- First, pick a product from the list and click on Next.
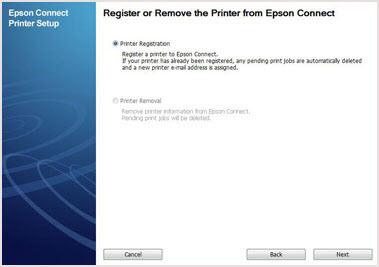
- Then, select Printer Registration and click Next again.
- Next, click on Agree and then hit Next.
- After that, press the OK button and setup a new account if you need to.
- Finally, click the Close button.
For MacBook
Step 1: Connect Epson Printer to Mac
- To set up your printer, start by going to the Control Panel on the printer.
- Next, find the screen that says “Know Your Wireless Network” and click on Continue when it shows up.
- After that, follow the instructions you see on the screen.
- You’ll need to choose the Wireless Network listed on your printer’s Control Panel.
- When the Add Printer option appears on your Mac, select your printer model from the list.
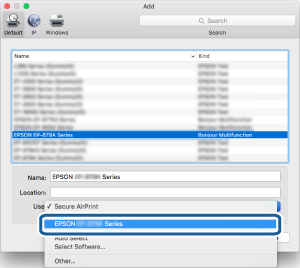
- Then, just click on Add Printer.

- Once that’s done, select Print Test Page and hit Continue.
- You will then have the option to Set Up Fax, or you can choose to click on Continue if you want to set up fax settings later.
- Finally, just follow all the steps shown on the screen.
Step 2: Install Epson Printer to Mac
- The first two steps are the same as for the Windows computer.
- Next, hit the Install and then Close buttons.
- Now, you need to choose the Epson printer and click on the Next button.
Note: If the Window pop-up doesn’t appear on the screen, then proceed to install the Epson printer by navigating to Finder > Application > Epson Software and then Epson Connect Printer Setup.
- Choose the option: Printer Registration and hit Next > OK.
- Scroll down and check the checkbox.
- Then, accept the terms and conditions.
- Create an account or use the one you already have.
- Finally, hit the Close button.
Finally, the guide on how to setup an Epson printer ends here; you can get started with your printer and start printing.
Final Words
In conclusion, setting up the Epson XP-7100 Bluetooth printer is a straightforward process for both Windows and Mac users. By following the detailed steps outlined on the topic 'how to setup Epson printer', you can easily connect your printer and begin printing high-quality documents and photos. With the right instructions and a bit of patience, you will soon feel confident using your printer anytime.
Frequently Asked Questions
Question
How to know if my Epson printer is connected to Wi-Fi?
To ensure your printer is online, follow the steps given below:
- Start by turning it on and accessing the control panel.
- Navigate to the 'Network'
settings and check the Wi-Fi connection status.
- If it displays 'Connected,'
your printer is online.
- If it shows otherwise, troubleshoot the connection or try to
reconnect it to the wireless network.
Question
Why is my Epson printer not responding?
If your printer isn't
working, start by making sure it's turned on and connected to the same Wi-Fi as
your computer. Sometimes, just restarting both the printer and the computer can
fix the problem. If it still doesn't work, you should uninstall and then
reinstall the printer drivers to get everything running smoothly again.
Question
Can I print from my phone on Epson printer?
Yes, the Epson printer is compatible with mobile printing. You can use the Epson iPrint app, which is available for Apple and Android devices. Just download the app, connect your phone to the same wireless network, and perform the steps to print directly from your smartphone. Once done, you can print with ease.
Enter your Comments Here: